
This winter has been brutal here in the Northeast. It makes everything harder. So here is a little something to warm you up. Well it is more like warming oxygen sensors up. Lets talk oxygen sensor heaters. Here is a very popular vehicle. This 2008 Jeep Wrangler with 50,731 miles and a 3.8 liter in it has a MIL lamp on. The shop tells me he is getting O2 sensor heater codes that come right back immediately after clearing. He has tried some new O2 sensors and still has issues. Lets take a look at the codes.
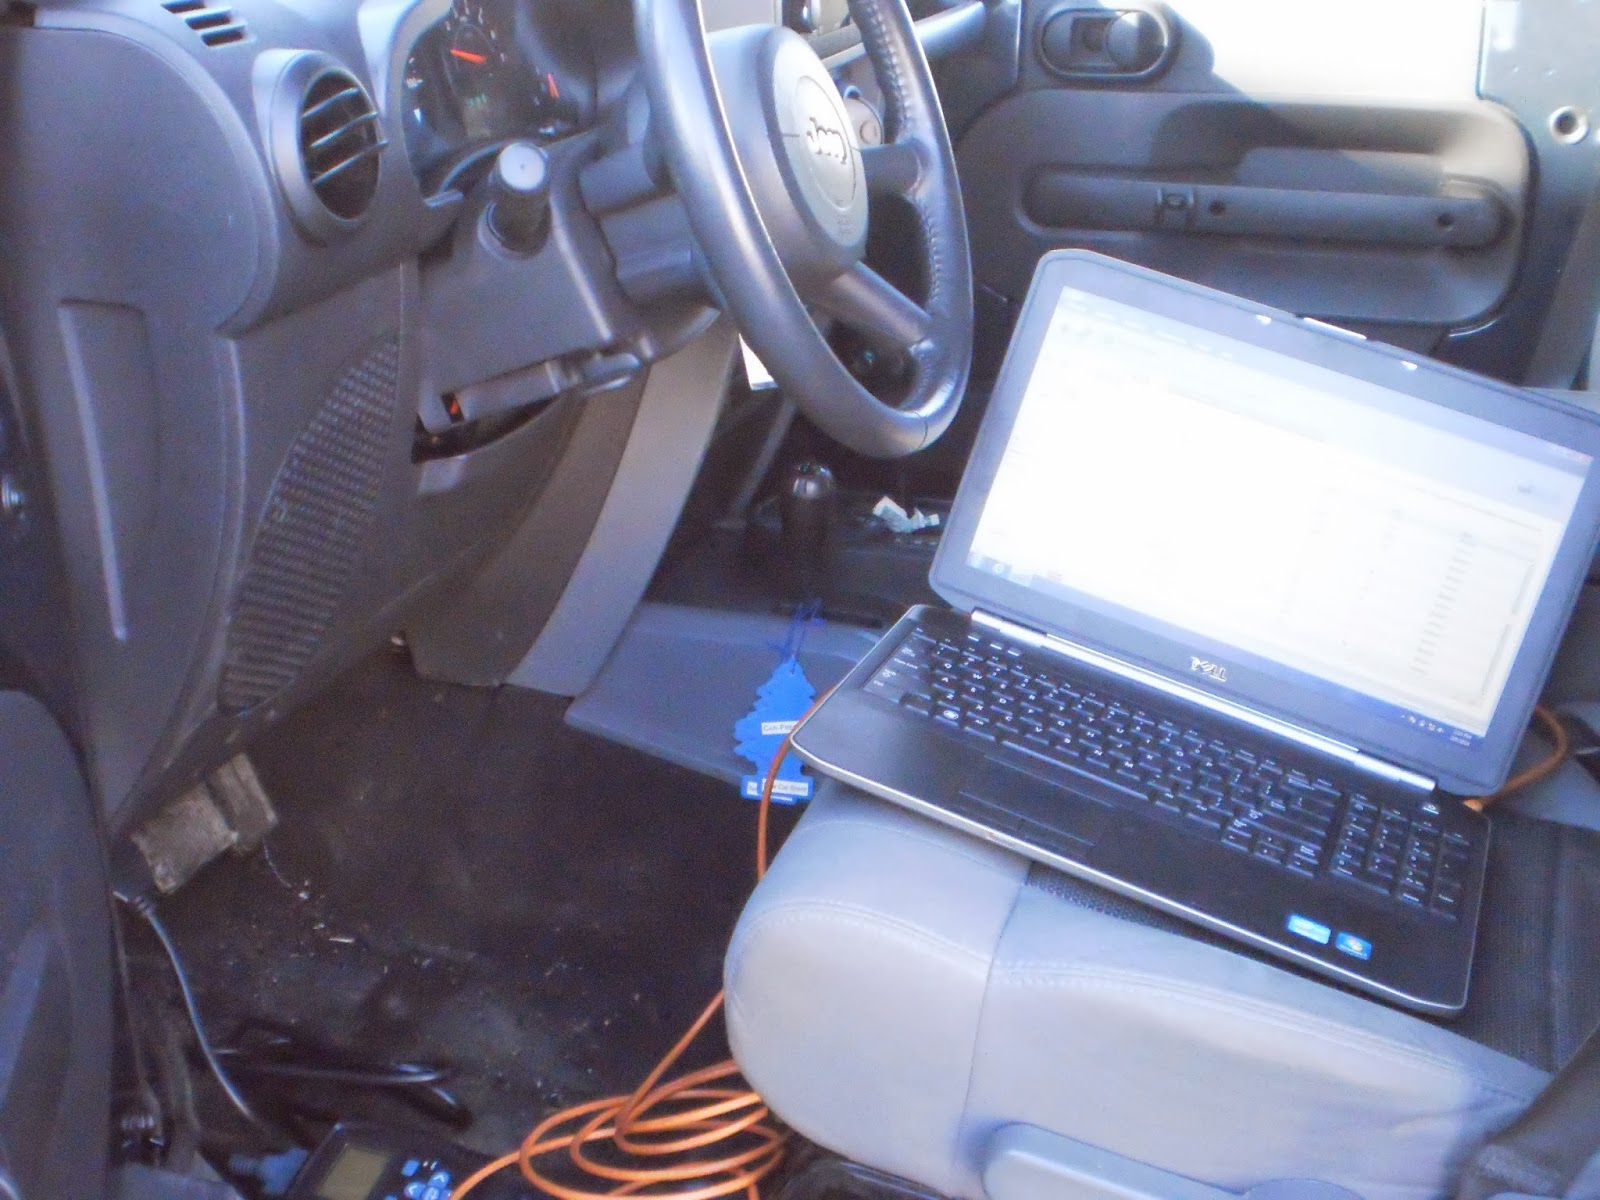
I always do a quick visual before hooking up my scantool. Lets pull the codes.

I am using the factory scan tool WiTECH. I see O2 heater codes for all four O2 sensors and they are active. Active meaning the fault is there right now. As opposed to stored where the fault happened some time ago but is not occurring right now. Now when I see all four O2 codes I immediately think of two issues. One being wiring and the other being the PCM itself. If this vehicle was flagging one O2 heater code it is feasible that it may be the sensor itself. A couple of important notes. These vehicles do not seem to tolerate aftermarket oxygen sensors. It is always better to go with an OE sensor. The other is that the O2 heater is a learned value. A bad oxygen sensor may cause a heater code and after replacement it may still flag a heater code. A PCM reset is in order after sensor replacement. The easiest/most definitive way is to disconnect a battery cable for 10 minutes or so. Back to the situation at hand. Lets look at the circuit.

What is a little unusual on Chrysler NGC O2 heater circuits is that the heater element is grounded all the time and the PCM (NGC Controller) pulses 12 volts to light up the heater. Typically on a cold motor the PCM will duty cycle the heater more and then lessen duty cycle as the vehicle warms up. It is all in an effort to get that vehicle in to a closed loop/feedback situation as quickly as possible. In the automotive world it all revolves around CAFE (Corporate Average Fuel Economy). I want to test
this circuit.

I want to check the circuit dynamically and statically. I first locate pin locations at the PCM. In this case Bank 2 Sensor 1 heater circuit is at terminal #17 at the PCM connector with the orange insert. Lets hook up.

I backprobe the wire here and also I am going to put a low amp probe around this wire as well. I want to see the PCM actuate the heater and what kind of amperage we have on the heater circuit.

But, first lets look at some data. What does the PCM think. As you can see here the PCM is not actuating the heaters. They are at 0%. Look at the O2 heater temp pids. Strange, right? This is a calculated value that the PCM formulates through an algorithm programmed into the PCM. Well if the PCM will not work the circuit, how can we?

Using WiTECH or a full function scan tool we can actuate the heater circuits in increments up to 25% on this application. Lets get the scope on there.

Here is Bank 2 Sensor 1 heater circuit. What I am looking for is a one to one relationship between actuation and amperage. Clean transitions and proper amperage. Looks good so far. This is a dynamic test. This test is done key on engine off. Looking at the amperage and using Ohms Law we can figure out our heater resistance as well. On time is our 25% commanded. Lets look at Bank 1 Sensor 1 heater circuit.

More of the same here. At this point my static testing will be academic. But lets do it anyway.

I am testing static O2 heater resistance. One lead is in the PCM connector and the other is to ground.
Remember what I said about figuring out heater resistance with the voltage and amperage scope shot. Well here you go we were pulling just under an amp. 12 volts with a 14 ohm load nets you about .85amps. The downstream O2 heater circuits are on a different PCM connector.

Upstream and downstream resistance specs can be different. As such is the case here. I check all four heater resistances at the PCM connectors. It is important to do testing as close to the PCM as possible. It is one stop shopping. It checks wiring and the component in one step. At this point it is looking like a bad PCM. I inform the shop owner.
.JPG)
Here is the old PCM.
.JPG)
New PCM installed. This Chrysler PCM/NGC comes blank. It needs the correct calibration programmed into it, the theft system reinitialized, the VIN and mileage programmed, the ETC (Electronic Throttle Control) relearn, and a Quick Learn for the transmission.

I programmed the PCM using Chryslers predecessor to WiTECH which is Starmobile/Desktop Client. After programming I went back to WiTECH to recheck pids.

Ok now look at those pids. That is what we want to see. Lets recheck codes.

I am feeling warm on this frigid day. See you soon for Part 2........